Need an Appointment?
If you'd like to book an appointment with the dentist at Seymour Dental then contact us, or call us in Dulwich Hill, Sydney on (02) 9564 2397.
The impression and model of the implant
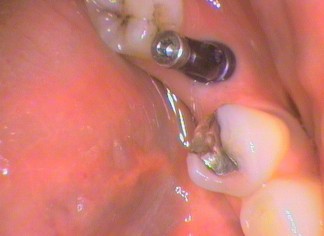
We’re getting close to the end of the saga of the whole purpose of an implant – the tooth! We must wait the usual minimum amount of time for the implant to integrate into the bone. This depends on the system used and the type of bone. Usually it’s about six months, however there is no maximum. So the timing of the final tooth on the implant can be delayed to suit the patient. This can be helpful for financial reasons or to ensure health fund rebates can be claimed by delaying this step to the next year after the implant was been placed. With an implant that has a healing abutment that protrudes through the gum there is no need to expose the implant by minor gum surgery.
We then test the implant to ensure it does not move in the bone. If it moves the implant cannot be used, and unfortunately, the implant needs to be replaced. The cause of failure can be too much movement during the healing process, infection, health reasons such as diabetes or osteoporosis, and sometimes, unknown. As we are dealing with the body, we are constantly changing, which can influence healing. Sometimes we just do not know.
Thankfully this is the exception rather than the rule. The implant’s internal threads are exposed so an attachment, called an impression coping, can be screwed into the implant. Implants are also called fixtures, as they are “fixed” into the bone. This type of impression is called a fixture head impression. This method allows an implant crown to be screwed in straight on the implant was one piece. This requires no cement. It means the crown can be removed and repaired and put back in the future.
Another method is to use screw a prefabricated shape called an implant abutment. The shape of which can be modified before an impression is taken of it. The final crown is cemented on like a normal crown on a tooth. This method means if the crown is damage in the future it cannot be easily removed and needs to be replaced.
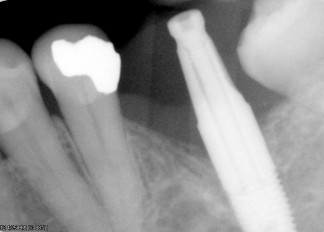
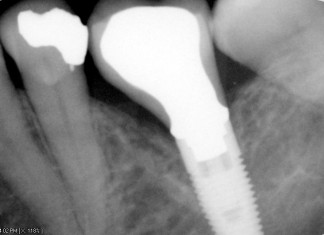
Regardless of the method used the next step is very important. An x-ray must be taken so the beam goes through the join of the impression coping, or the implant abutment to the top or head of the implant. This is to ensure there is NO SPACE AT THE JOIN. Otherwise bacteria can infect this part of the implant crown.
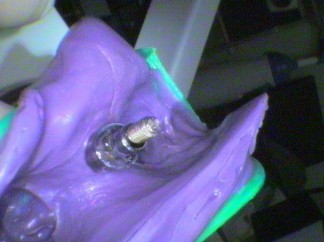
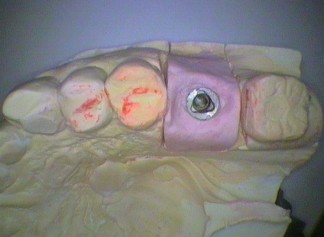
A tray is then used to hold special materials that sets into a rubber-like consistency over the impression coping or implant abutment. With the fixture head impression, the impression coping is taken up with the impression. The exposed screw threads of the impression coping are exposed. This allows the technician to screw a dummy implant on to it before the model is poured using special stone material. We have now successfully copied what is in the mouth into a stone model!
Making and placing the implant crown
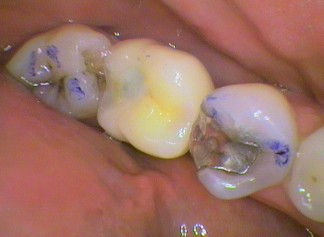
The technician now makes a tooth that fits the bite and the shape of the tooth that used to be there. The shape/colour of the tooth can sometimes be improved on to look better than the original tooth. The implant crown is made to screw directly into the internal threads of the implant in the bone. The implant crown is delivered from the technician on the stone model replica of the mouth. The implant crown is then unscrewed from the model and then hand tightened into place on the implant in the mouth. Again, an important x-ray of the join of the crown to the implant is taken to ensure there is NO GAP. Once this has been verified, the bite, shape and colour are checked to the patient’s satisfaction.
Last Step. To stop the crown unscrewing, the screw itself is designed to distort, or permanently deform, once it is tightened under pressure. This requires a torque controller. This machine or device controls the force of tightening the screw and cuts out once the desired force has been reached. It means if the implant crown needs to be removed in the future a new screw must be used to place it back since the original screw would be misshapen. Once tightened the screw head is covered with an easily removable material. The access hole to the screw head is then filled in with material to match the colour of the crown. No cement is required. For the crown on the implant abutment, cement is required.
Go forth and smile and eat again!
Next week: All I want for Christmas – are teeth!
 479 Marrickville Road